eyk0p
April 23, 2026
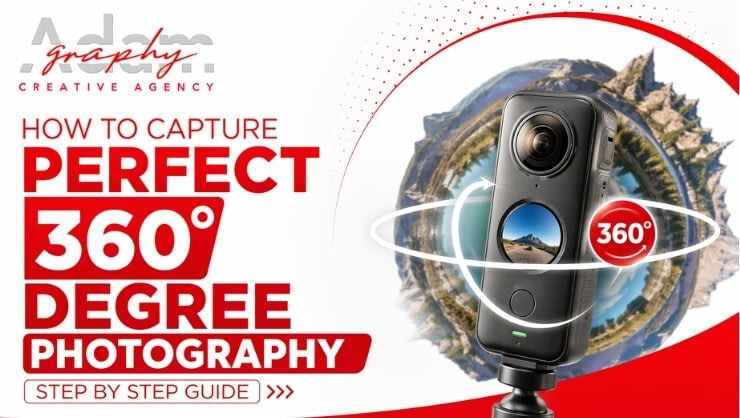
Imagine stepping into a photo instead of just looking at it. You can turn left, right, up, and down and explore every corner of the scene. That is the power of 360° degree photography. It feels real, immersive, and engaging in a way that normal photos cannot match.
360° degree photography is changing how people share places, products, and experiences online. From virtual tours to real estate listings and travel content, this style of photography helps viewers feel like they are actually there. If you want to create high quality 360° images, you do not need to be a pro. You just need the right steps, tools, and techniques.
This guide will walk you through everything in a simple and practical way. You will learn how to plan your shoot, choose equipment, capture images, and edit them for the best results. Let’s get started.
360° degree photography captures a full view of a scene in every direction. Instead of a flat image, it creates an interactive view that users can rotate and explore. This allows viewers to feel like they are physically present inside the environment, making it much more immersive than traditional photography. It is often used to showcase spaces in a realistic and engaging way.
This technique is widely used in virtual tours, real estate, tourism, and digital marketing. It helps businesses attract more attention by offering interactive previews of properties, hotels, destinations, and products, improving user engagement and decision-making.
Selecting the right gear is essential for producing high-quality 360° photography results. Your equipment choice depends on your budget, experience level, and the final output you want to achieve.
This is the most beginner-friendly option for 360° photography. These cameras come with dual or multiple built-in lenses that capture a full scene in one shot. They are ideal for quick setups, virtual tours, and simple content creation.
For professional results, a DSLR or mirrorless camera paired with a wide-angle or fisheye lens is the best choice. This setup allows you to capture multiple images from different angles, which are later stitched together to create a high-resolution 360° image.
Modern smartphones offer easy entry into 360° photography through dedicated apps. While not as advanced as professional gear, they provide a cost-effective and convenient solution for beginners and quick captures.
A sturdy tripod is essential for all types of 360° photography. It ensures stability, keeps the camera perfectly aligned, and helps maintain consistency across all captured images for smooth stitching and a professional final result. It also minimizes shake and unwanted movement, which is crucial for achieving sharp and seamless 360° images.
Before you start shooting, it is important to configure your camera settings correctly to achieve high-quality 360° product photography results. Always use manual mode if available, as it ensures consistent exposure across all images. Set a fixed ISO, shutter speed, and aperture to avoid unwanted variations in brightness, color, or sharpness.
In addition, lock your white balance to maintain natural and consistent colors throughout the entire shoot. Use manual focus and keep it fixed for sharp, uniform results. Place your camera on a stable tripod and ensure it is perfectly level, as even a slight tilt can disrupt alignment and affect the final stitched 360° image. 360° Product photography format allows customers to view items from every angle, creating a more interactive and realistic shopping experience. It is widely used in e-commerce to build trust, improve engagement, and increase conversion rates by giving a clear, detailed view of the product before purchase.
When capturing professional 360° photography, following the correct shooting process is essential to ensure a seamless and high-quality final result. Whether you are using a dedicated 360° camera or a manual setup, consistency and stability play a major role in achieving perfect image stitching.
Maintaining control, stability, and consistency throughout the entire process ensures a clean, immersive, and professional-grade 360° photography result.
If you are using a DSLR or smartphone, you will need to combine multiple images into a single 360° view through a process called stitching. This technique merges all captured photos into one seamless panoramic image, creating a complete immersive experience. Various stitching software tools are available that help align images accurately and remove visible seams for a smooth result. During editing, ensure the horizon remains straight and transitions between images are blended properly to achieve a clean, natural, and professional-quality 360° photograph.
Editing plays an important role in enhancing the overall quality of your 360° photography and making the final output more visually appealing. Start by adjusting brightness, contrast, and colors to ensure the image looks natural and balanced. Make sure the tones are consistent throughout the entire 360° view for a professional finish.
Next, carefully remove any visible stitching lines or minor errors that may appear during the merging process. Apply slight sharpening to improve clarity and fix any distortion if necessary. However, avoid over-editing, as keeping the image realistic, clean, and natural is key to achieving a high-quality 360° result.
360° photography offers several powerful advantages for businesses, creators, and marketers looking to enhance visual storytelling and user engagement.
360° photography is widely used to create immersive virtual tours, especially in real estate, hotels, and tourism, allowing users to explore spaces in a realistic and interactive way. It is also highly effective for product displays, giving customers the ability to view items from every angle before making a purchase decision. In the UAE creative industry, professional photographers like Shahid Adam also use 360° photography to deliver high-quality visual experiences for clients.
In addition, it is used for capturing events and experiences such as concerts, exhibitions, and live shows, providing a complete environmental view. It also plays an important role in education and training, where interactive 360° visuals help create more engaging and practical learning experiences.
Capturing perfect 360° degree photography is easy when you follow the right process, use proper equipment, and apply consistent techniques. With good planning and attention to detail, anyone can create high-quality, immersive images that look professional and engaging. In luxury hotel photography, 360° visuals are especially powerful as they showcase rooms, interiors, and amenities in a realistic way, helping guests explore the property virtually and build trust before booking.
Looking for a brilliant photographer to capture your space?
Get in touch with us today for a free quote — let’s bring your vision to life!
Shahid Adam is photography and videography studio in Dubai. Photographer in Dubai makes amazing photos and videos for all your needs with creative skills & modern tools.