eyk0p
February 25, 2026
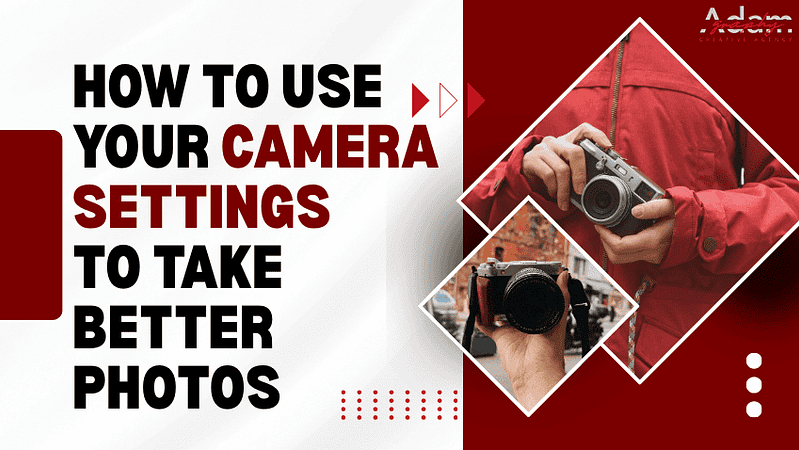
Photos are more than just pictures. They show moments, feelings, and memories. They can tell a story or keep a special moment forever. But even with a good camera, your photos might sometimes look dark, blurry, or not as clear as you want.
The problem is not always the camera. What makes a photo look great is how you use the camera’s settings. These settings help you control light, focus, color, and motion. When you know how to use them, you can take photos that look like what you see with your eyes.
In this guide, you will learn the most important camera settings, like aperture, shutter speed, ISO, and white balance. You will see how these settings work together and how to use them in different situations. By the end, you will feel more confident taking clear, bright, and professional-looking photos.
This guide will show you exactly how to choose the best professional photographer in Dubai, step by step, so you can hire with confidence and get results that truly meet your expectations.
Your camera has many settings, but some are more important than others. The main ones: aperture, shutter speed, and ISO control how much light enters the camera, how motion looks, and how bright or dark your photo will be. Learning these settings is the first step to taking clear, sharp, and professional-looking photos. When you understand how they work and how they affect each other, you can adjust your camera for different situations, like portraits, landscapes, or action shots. These three settings work together to create the right exposure, so practicing them will help you take photos that match what you see with your eyes.
Aperture is the opening inside your camera lens that lets light in. It works like the pupil of your eye, bigger openings let in more light, and smaller openings let in less. Aperture is measured in f-numbers (like f/1.8, f/4, f/16). A smaller f-number means a bigger opening, and a larger f-number means a smaller opening.
The lens you use affects the range of apertures you can set because different lenses can open wider or narrower. Some lenses allow very large apertures, while others are more limited.
Many cameras offer aperture-priority mode, often marked as A or Av on the dial. This lets you set the aperture manually while the camera automatically adjusts the other settings. It’s a simple way to control the depth of field without worrying about every other setting.
Shutter speed is how long your camera keeps the shutter open to let light in. It is also called exposure time. This is one of the easiest camera functions to understand, but it has a big effect on your photos. Some cameras, like mirrorless cameras, have electronic shutters, but many digital cameras still use mechanical shutters.
In your camera settings, shutter speed usually appears as whole numbers that indicate fractional speeds. For example, 1/250 is shown as 250, and 1/30 is shown as 30. A lower number means the shutter is open longer, because 1/30 of a second is more time than 1/250 of a second. For exposures of a second or more, you will see a double quotation mark, like 30”, which means 30 seconds.
ISO controls how sensitive your camera’s sensor is to light. In digital photography, the lower the ISO number, the less sensitive the sensor is, and the higher the ISO, the more sensitive it becomes. This setting helps you adjust your camera to the light available, giving you more freedom to change shutter speed or aperture without over- or underexposing your photo.
White balance is one of the simpler camera settings, but it plays an important role in how your photos look. It controls the color temperature, making whites appear truly white and other colors natural. Many cameras today have an automatic white balance that works well for most situations, and many professional photographers rely on it for quick outdoor shots. If you want a little more control, you can use the semi-automatic white balance, which lets you adjust the setting while still getting help from the camera.
Professional photographers often adjust white balance carefully to keep skin tones warm and natural, especially when shooting indoors under artificial lights. Using white balance correctly ensures your photos match the colors you see with your eyes and also helps you create the mood or tone you want in your images
Focal length is the distance between your camera lens and the sensor that captures the image. It affects how much of the scene you see and how close or far your subjects appear.
Knowing your focal length helps you choose the right lens for each situation, control how your subject and background appear, and compose shots exactly the way you want.
Mastering your camera’s settings takes practice, but it makes a huge difference in your photos. By learning how aperture, shutter speed, ISO, white balance, and focal length work, you can take clearer, sharper, and more vibrant images. Each setting gives you control over light, focus, and color, and together they help you capture the exact scene you imagine. The key is to experiment, see how each adjustment changes your photo, and keep practicing. Over time, using your camera will feel natural, and your photos will consistently reflect your vision.
Looking for a brilliant photographer to capture your space?
Get in touch with us today for a free quote — let’s bring your vision to life!
Shahid Adam is photography and videography studio in Dubai. Photographer in Dubai makes amazing photos and videos for all your needs with creative skills & modern tools.